
Enrolling in the Apple Developer Program
What to enter on each screen of the Apple Developer Program enrollment, accepting agreements after approval, and adding us to your team.
First, choose your business type
Once you choose, the page shows only the steps that apply to you.
Nothing selected yet, steps for both are shown.
On the App Store, an individual account shows your own name as the seller; an organization account shows your company's legal name.
Before you start
Everyone
- An Apple Account (Apple ID). You can use an existing one. Two-factor authentication must be on.
- The first and last name on the Apple Account must match your ID. If it shows a nickname or a company name, Apple holds the enrollment. Fix it first at account.apple.com if needed.
- A credit or debit card in your own name. If an individual enrolls with someone else's card, Apple asks for a photo ID and the enrollment is delayed. The card must accept charges in US dollars.
- Your phone number and a street address (P.O. boxes are not accepted).
Companies also need Company
- A D-U-N-S Number. See How to get a D-U-N-S Number. This is the slowest step, start it before you enroll.
- An email address on your company's domain, e.g.
name@yourstore.com. Gmail or Outlook addresses are not accepted. - A working website on a domain your company owns. Your online store is enough. Social media pages are not accepted.
- The person enrolling must have legal authority to sign for the company: an owner, partner or authorized executive. Otherwise Apple asks for the contact details of someone who can confirm your authority.
Enrollment screens
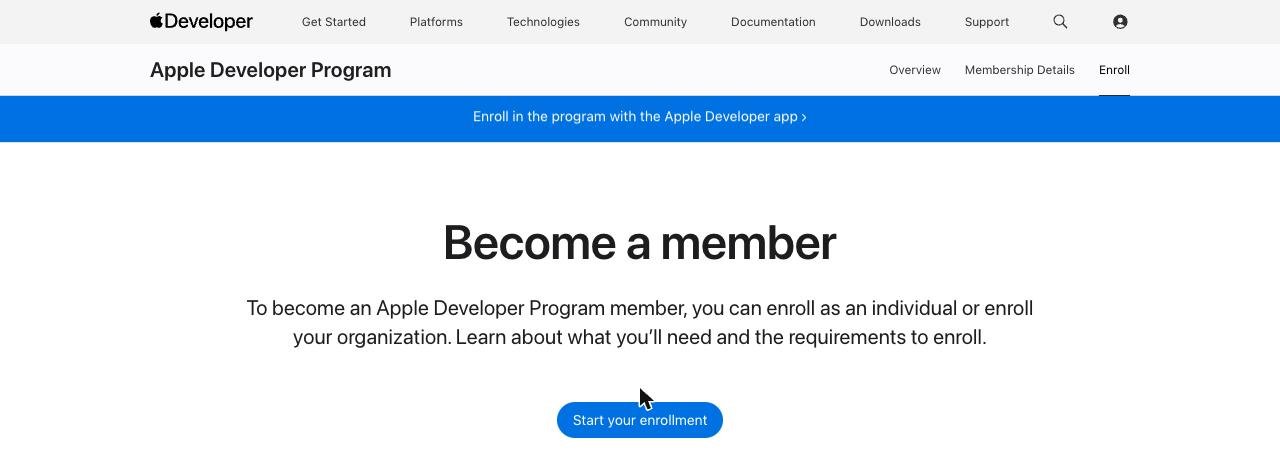
Start your enrollment
Go to developer.apple.com/programs/enroll, click Start your enrollment and sign in with your Apple Account.
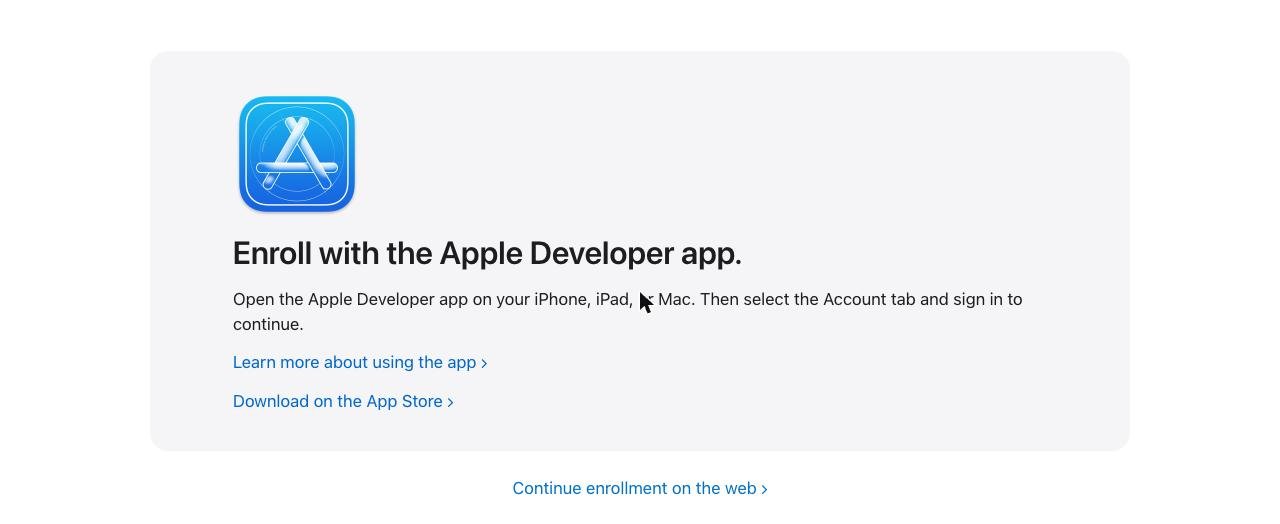
Continue on the web
Apple suggests the Apple Developer app on your iPhone. To continue on a computer, click Continue enrollment on the web at the bottom. You can also use the app; the steps are the same, but it may ask for a photo of your ID.
Your personal information
Everyone sees this screen. Even when enrolling a company, enter your own details here.
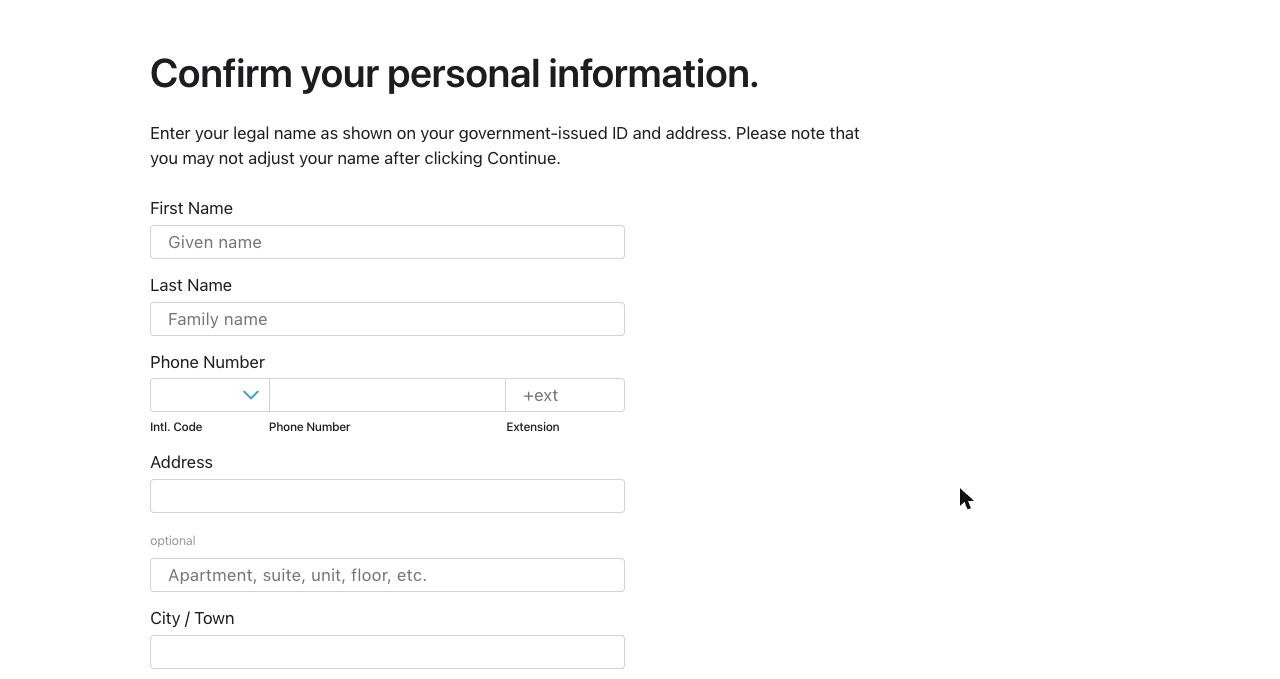
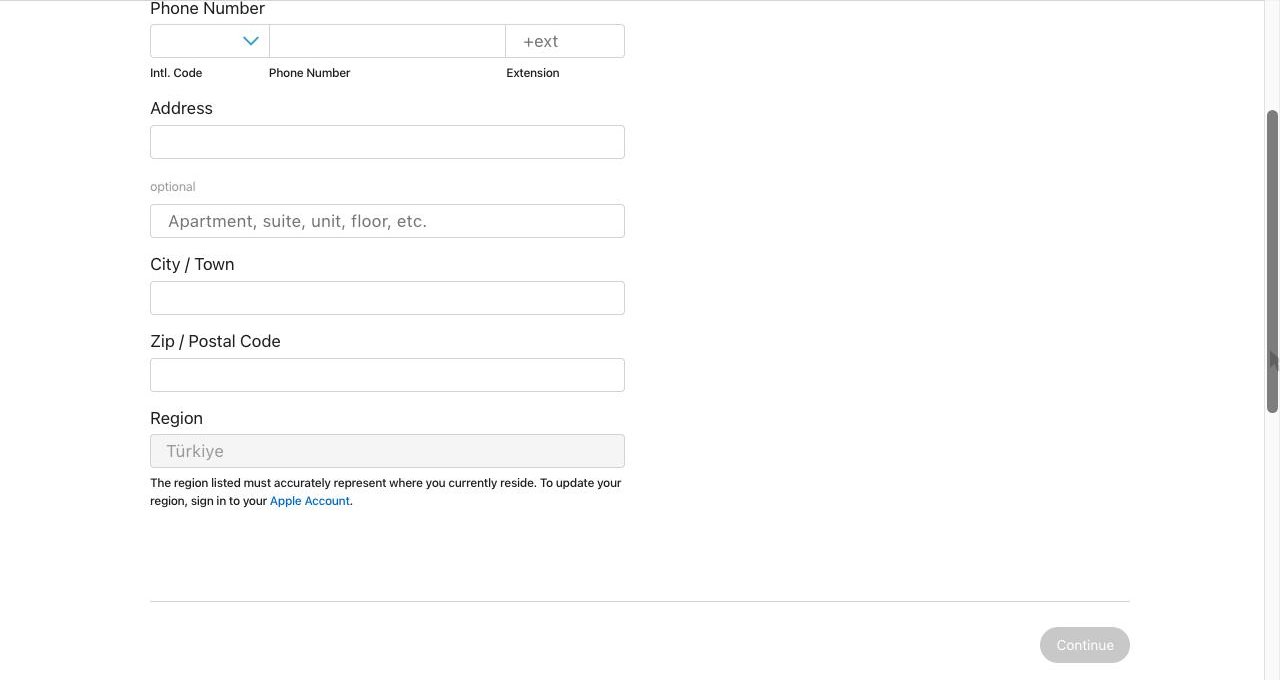
| Field | What to enter |
|---|---|
| First / Last Name | Your name exactly as on your ID |
| Phone Number | Country code, then your number |
| Address | Street address; P.O. boxes are not accepted |
| City / Town | City |
| Zip / Postal Code | Postal code |
| Region | Comes from your Apple Account and must match where you live |
Entity type
Individual or sole proprietor: choose Individual.
Company: choose Organization.
Company details Company
- Legal Entity Name: exactly as in your D-U-N-S record. Not a brand name, trade name or abbreviation.
- D-U-N-S Number: the 9-digit number.
- Headquarters address and phone: the same as in your D-U-N-S record.
- Website: your online store's address.
- Work email: your address on the company domain.
- Signing authority: you confirm you can bind the company to legal agreements. If you are not an owner, Apple asks for the name and contact details of someone who can confirm your authority.
Apple reviews the details and may ask for notarized documents. Once verified, Apple emails you the next step; payment opens after that email.
Agreement and payment
Accept the Apple Developer Program License Agreement and pay the annual fee. The fee is 99 USD; in some regions Apple shows it in local currency.
Individuals: you pay during enrollment.
Companies: you pay after Apple's verification email.
You get an order email first, then a membership confirmation. If no confirmation arrives within 24 hours, write to us and we will follow up with Apple using your Enrollment ID.
The steps after the entity type screen are based on Apple's own documentation. If your screen looks different, send us a screenshot.
After approval
Accept the agreements
Sign in at appstoreconnect.apple.com. If you see a pending agreement, open it and accept. If you are asked about your trader status for the European Union, write to us and we will fill it in together.
Keep auto-renewal on. If your membership expires, your app is removed from the App Store.
Add us to your team
In App Store Connect, open Users and Access and click the blue + button on the People tab.
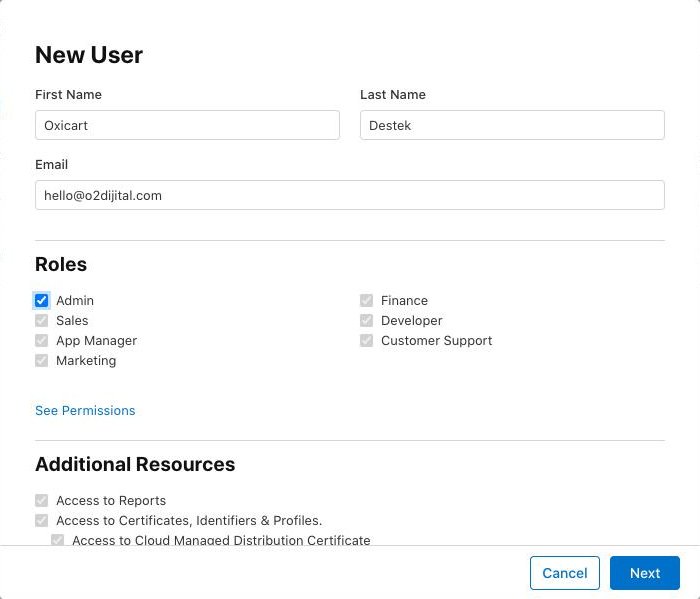
| Field | What to enter |
|---|---|
| First Name | Oxicart |
| Last Name | Support |
| hello@o2dijital.com | |
| Roles | Admin |
Click Next and send the invitation. The Admin role lets us register and sign your app. You always remain the account owner and can remove our access at any time.
Create two keys Individual
On individual accounts, Apple only lets the account holder into the section where apps are signed. So you create two keys once and send them to us. Step by step: Individual accounts: creating Apple keys.
Let us know
Write to us once the invitation (and the keys, if needed) are sent. We handle app registration, store listings, submission and Apple's review.
Common issues
- Enrollment is pending for days: usually the name on the Apple Account does not match the ID, or the card belongs to someone else. Apple typically asks for more information by email; check your inbox and spam folder.
- Legal name does not match: the name in the enrollment must match the D-U-N-S record letter for letter. A brand name is not accepted.
- Email is rejected: Apple does not accept addresses outside your company domain. Create one on your website's domain.
- Accented letters on screen: rewrite them in plain Latin letters and use the same spelling on every form.